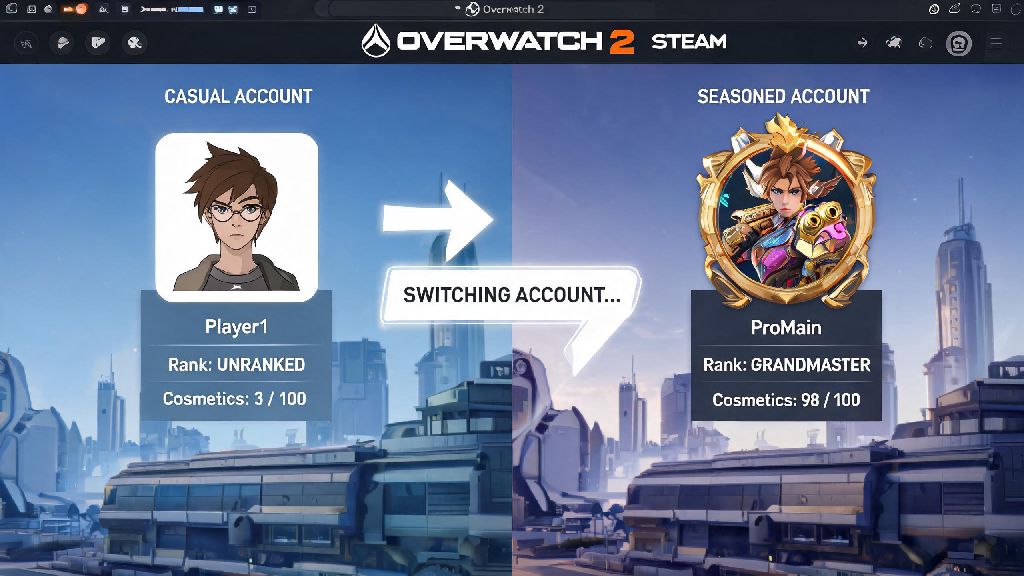
If you share a gaming PC with family, have a separate casual profile for playing with lower-rank friends, or keep a main account stacked with limited-edition cosmetics, you’ve probably run into confusion when trying to swap profiles without messing up your saved progress. A lot of Overwatch 2 players on Steam run into login errors or missing cosmetics because they skip small but critical steps during the swap process. We’ve put together this tested guide to walk you through how to switch accounts on Overwatch 2 Steam safely, with fixes for the most common snags you might hit along the way.
How to Switch Accounts on Overwatch 2 Steam: Full Walkthrough
The process is straightforward once you know the right order to follow, and it only takes 1 to 2 minutes total when you get used to it. Always close Overwatch 2 fully before switching Steam accounts to avoid session caching issues that can load the wrong profile even after you swap logins. Follow these exact steps for a seamless swap every time:
If you’re setting up a second account for the first time, you don’t need to purchase Overwatch 2 again for additional accounts since the base game is free to play. You will only need to repurchase paid battle passes or store cosmetics if you want them on the second profile, as these do not transfer across separate accounts.
Common Issues When Swapping Overwatch 2 Steam Accounts (And Fixes)
Even if you follow the steps exactly, you might run into occasional errors, most of which are caused by cached login data or unlinked accounts. The most common issue people report is the game loading their old profile even after they switched Steam accounts. To fix this, go to the in-game settings menu, navigate to the Account tab, and select “Log out of Battle.net” before restarting the game.
Another frequent complaint is missing cosmetics after a swap. This almost always happens when you linked the wrong Battle.net account to your Steam profile by mistake. You can only link one Battle.net account per Steam account permanently, so double-check that you’re using the right Battle.net login during the initial setup process. If you did make a mistake, you can submit a support ticket to Blizzard to request a link reset, though these requests are only approved in rare cases.
If you get a “login failed” error when launching the game after switching accounts, shut down both Steam and any running Battle.net processes in your task manager, then restart Steam and try again. Separate Battle.net sessions running in the background often conflict with Steam’s login integration for Overwatch 2.
Best Practices to Protect Your Data When Switching Accounts
Swapping accounts regularly doesn’t put your data at risk as long as you follow a few simple rules to keep your accounts secure and avoid flags from anti-cheat systems. First, never share your Steam or Battle.net login details with anyone, even close friends. Both platforms’ terms of service ban account sharing, and you could lose access to all your purchased cosmetics if your account is flagged for shared use.
Enable two-factor authentication on both your Steam and Battle.net accounts to prevent unauthorized access if you save your login info on a shared PC. This extra step takes just a few seconds when logging in, and it blocks almost all attempts to access your account without permission.
If you share your PC with multiple people who play Overwatch 2, set up separate Windows user profiles for each person. This keeps your Steam login credentials saved to your own user profile, so you don’t have to log out and back in every time someone else wants to play. You should also avoid swapping accounts more than 3 times in a 30-minute window, as this can trigger Blizzard’s anti-fraud systems and lead to a 24-hour temporary login restriction.
Can You Use the Same Battle.net Account for Multiple Steam Accounts?
This is one of the most common questions we get from players who want to access their main Overwatch 2 profile on a family member’s Steam account. The short answer is no: Blizzard’s integration rules only allow you to link one unique Battle.net account to each Steam account, and that link is permanent once confirmed.
If you try to link the same Battle.net account to a second Steam account, you’ll get an error message telling you the account is already linked to another profile. Cross-progression only applies to the single Battle.net account linked to your Steam profile, so you won’t be able to share skins, rank, or battle pass progress across different Steam accounts, even if you own all of them. There is no official way to transfer cosmetics between separate Battle.net accounts, so you’ll have to repurchase any limited-edition items if you want them on multiple profiles.
The only way to have multiple Overwatch 2 profiles on the same PC is to create separate Battle.net accounts for each profile, and link each one to a unique Steam account. You won’t have to pay anything for extra base game access, since Overwatch 2 is free to play, but you will have to purchase any paid content separately for each account if you want it on multiple profiles.
Once you get the process down, learning how to switch accounts on Overwatch 2 Steam is a quick, painless task that lets you swap between casual and competitive profiles, or share your PC with family without risking your saved data. Just remember to fully close the game before switching logins, double-check your account links during setup, and enable two-factor authentication to keep all your profiles secure. I’ve used these steps for over a year to swap between my main competitive account and a casual profile I use to play with my younger sibling, and I’ve never run into a permanent issue with missing data or account bans.